I regularly start coding sessions on a beefy remote Linux box instead of my
laptop, and I wanted a way to walk away from a session mid-task and pick it back
up later — from a different terminal, from the browser, or from my phone —
without losing any context. Claude Code’s Remote Control feature, combined
with a VS Code Dev Container and a tmux session on the remote host, does
exactly that. Here’s the setup, step by step.
This HOWTO is generic, in the following sections you should replace the following placeholders:
REMOTE_HOST: hostname or IP address of the remote Linux server, reachable over SSHREMOTE_USER: my own SSH user on that hostREPOSITORY_URL: the Git repository containing the project’s Dev ContainerLOCAL_WORKDIR: where that repository is cloned onREMOTE_HOST
The command were tested on several REMOTE_HOSTs running different Linux-based Operating systems, such as Ubuntu 24.x server or Omarchy Quattro.
Prerequisites
Launch Visual Studio Code on your local machine and install
these two extensions from the Extensions view (Ctrl+Shift+X / Cmd+Shift+X):
- Remote - SSH —
lets VS Code connect to
REMOTE_HOSTover SSH and work with its filesystem directly. - Dev Containers —
lets VS Code open the project’s Dev Container once you’re connected to
REMOTE_HOST.
Login to the remote host
Login to the remote server via SSH:
ssh $REMOTE_USER@$REMOTE_HOSTIdentify the OS running on the remote server:
cat /etc/os-release(Optional) Update the OS on REMOTE_HOST and reboot if required. For Ubuntu:
sudo apt update && sudo apt -y dist-upgrade && sudo apt -y autoremove --purge
sudo reboot
Wait until the server comes back online, then log in via SSH again and verify that the host OS is now up to date.
Clone the Git workspace
Use the tool you prefer (Visual Studio Code, the command line, etc.) to clone
the Git repository at REPOSITORY_URL into LOCAL_WORKDIR of REMOTE_HOST.
From the command line:
mkdir -p LOCAL_WORKDIR
cd LOCAL_WORKDIR
git clone REPOSITORY_URL
Install the Dev Container CLI
Check whether the devcontainer CLI is already installed on REMOTE_HOST:
devcontainer --versionIf the command isn’t found, install it via npm (requires Node.js):
npm install -g @devcontainers/cliEnter the Dev Container
Make sure that the Dev Container is up and running on REMOTE_HOST, then list its properties:
cd LOCAL_WORKDIR
devcontainer --version
devcontainer up | jq
Log into the Dev Container:
devcontainer exec bashRun tmux in the Dev Container
Logged into the Dev Container, make sure that the tmux command is available, otherwise install it:
# Dev Container based on Debian (i.e. Ubuntu)
which tmux || (sudo apt-get update && sudo apt-get -y install tmux)

# Dev Container based on Arch (i.e. Omarchy)
which tmux || sudo pacman -S --noconfirm tmux
Attach to a running tmux session, or create a new one:
tmuxYour terminal will display one tmux window as shown:
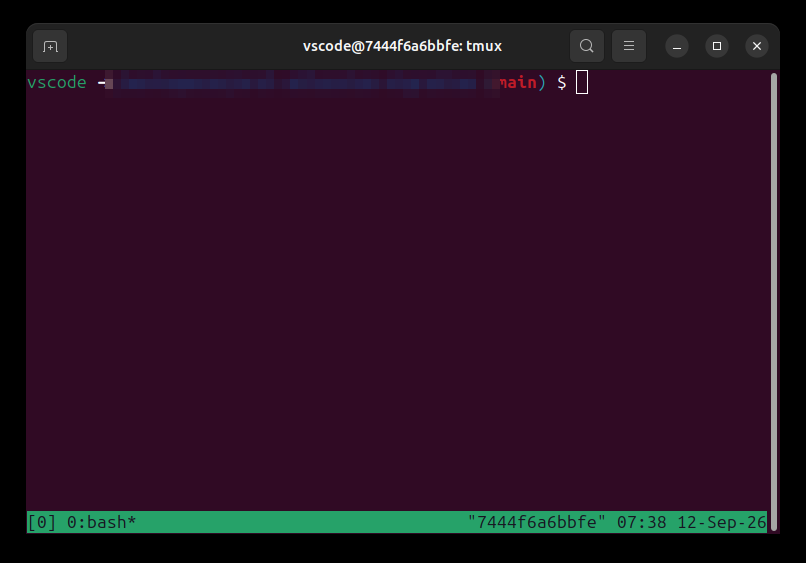
Configure Claude Code
Make sure Claude Code is installed in the Dev Container:
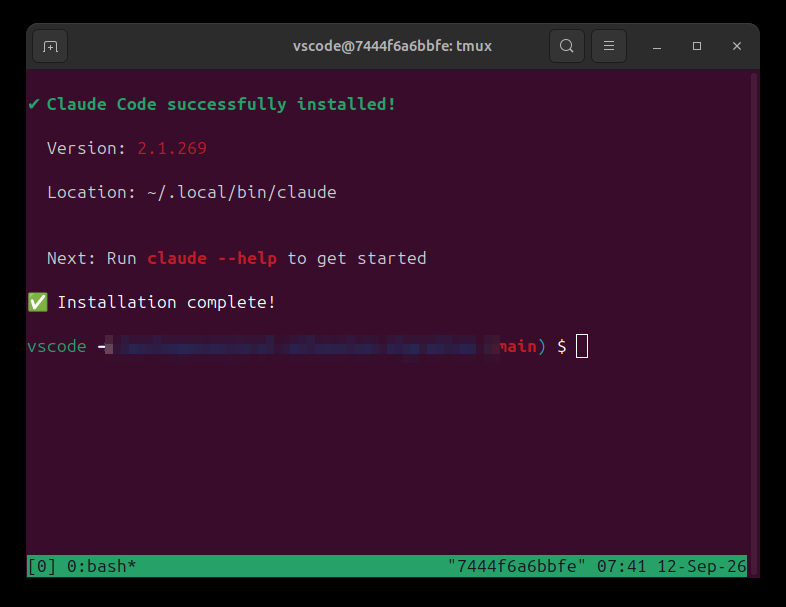
which claude || curl -fsSL https://claude.ai/install.sh | bashClaude Code will be installed if it was not found. When the installation is complete, the following message will be displayed on the terminal:
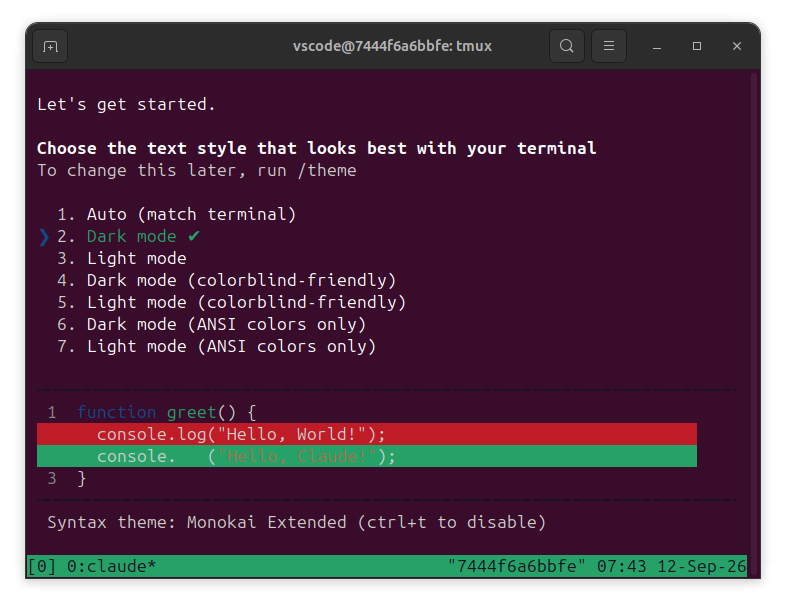
The first time you launch the claude command, a setup wizard runs:
-
Select your preferred text style.
-
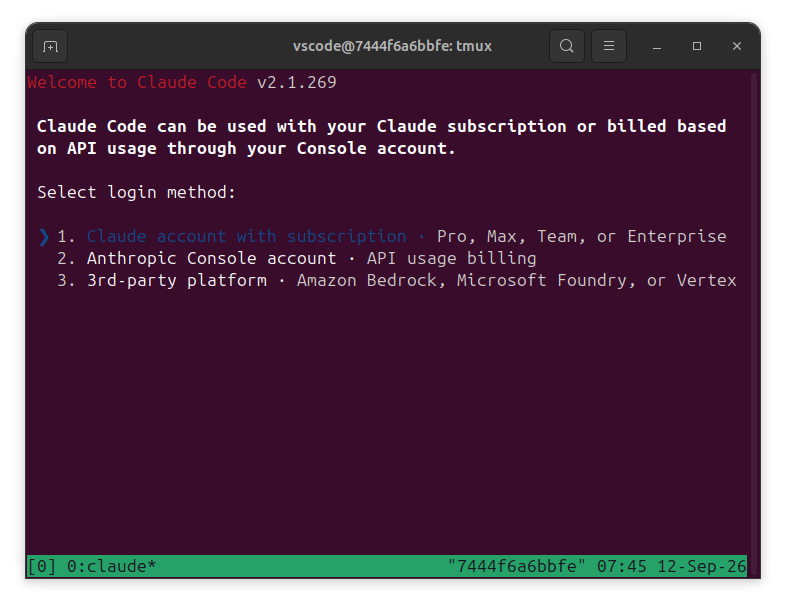
Select a login method and follow the instructions.
-
If everything is OK, you should get a confirmation message.
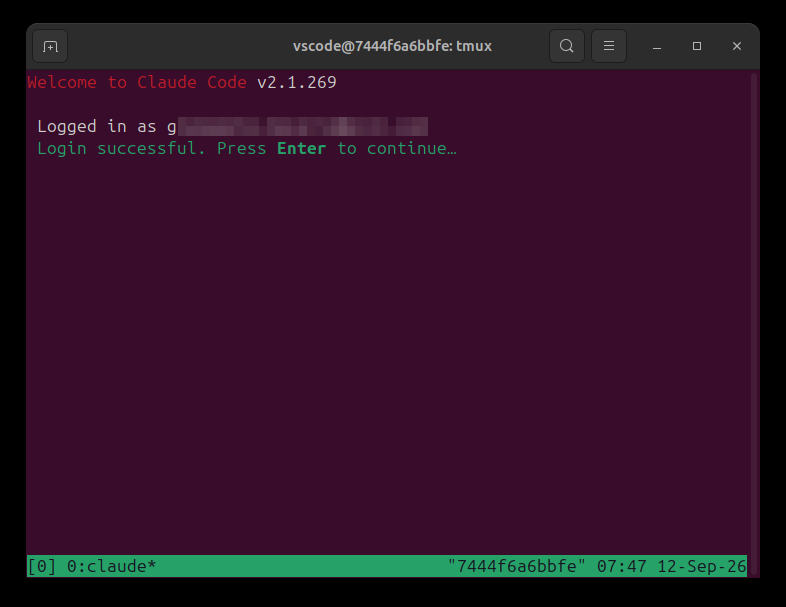
-
Press Enter to continue and read the security notes.
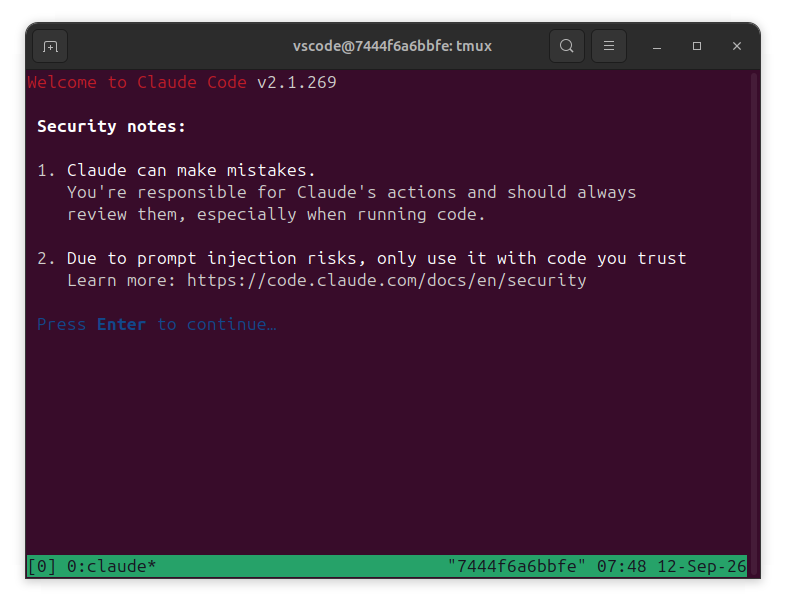
-
Read and select Yes, I trust this folder to continue.
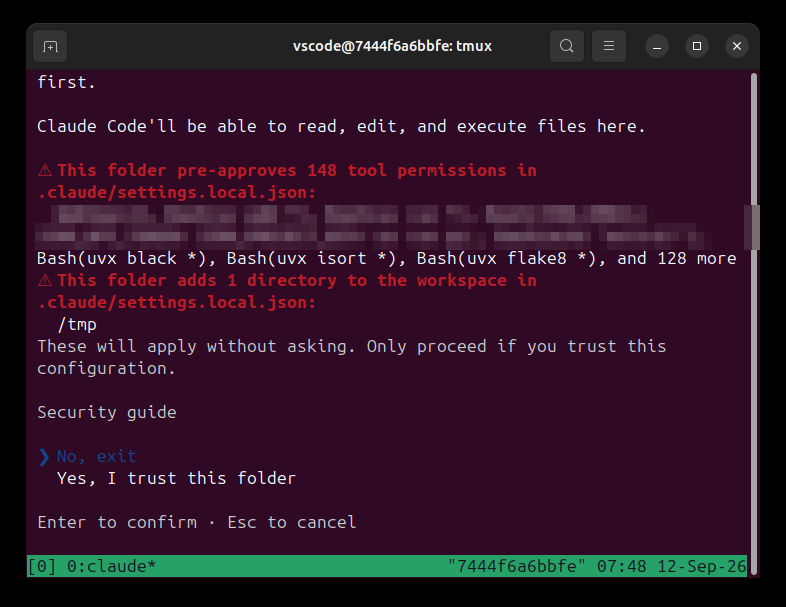
-
Type
Ctrl-Ctwice to exit Claude Code and return to the command prompt.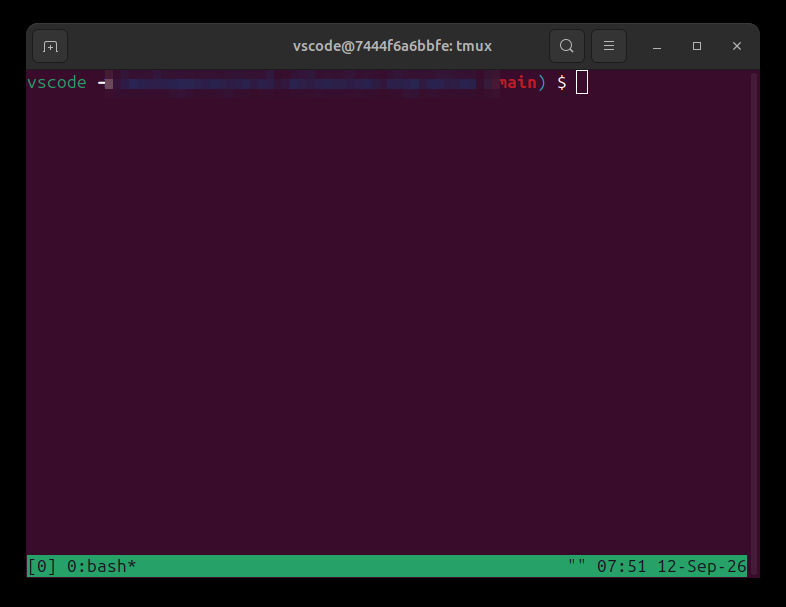
Enable Claude Code Remote Control
Back at the Bash prompt inside the Dev Container, type claude remote:
$ claude remote

Take this session with you and pick up right where you left off on any device.
Open the Code tab in the Claude mobile app, or visit claude.ai/code in a browser.

The session keeps running on this machine. Use your other devices as a remote
control. Press Ctrl+C to stop.

Enable Remote Control? (y/n)
Type y to enable Remote Control:
Enable Remote Control? (y/n) y

Remote Control is launching in spawn mode, which lets you start new sessions in this project from claude.ai/code or the Claude mobile app. Learn more: https://code.claude.com/docs/en/remote-control

Spawn mode for this project:
  [1] same-dir — sessions share the current directory (default)
  [2] worktree — each session gets an isolated git worktree

This can be changed later or explicitly set with --spawn=same-dir or --spawn=worktree.

Choose [1/2] (default: 1):
Choose the option you prefer — I selected 2 (worktree) so that each
session gets an isolated Git worktree.
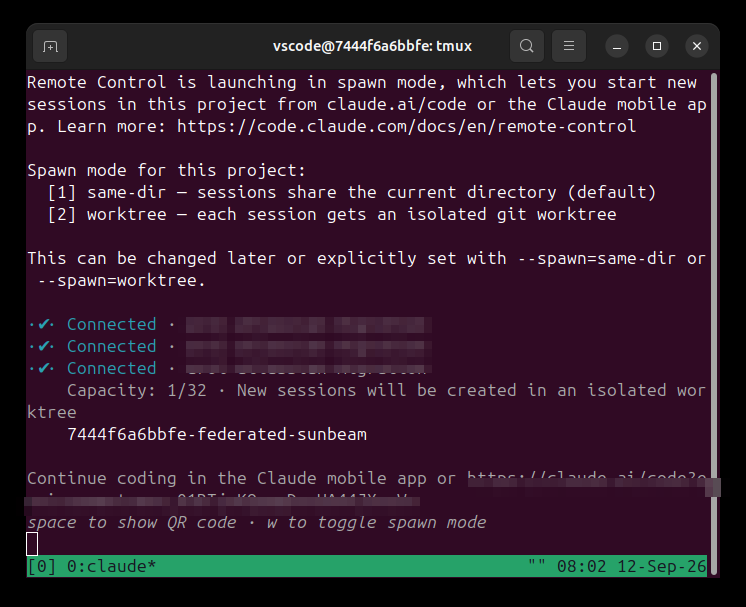
As suggested, you may type space to show a QR code:
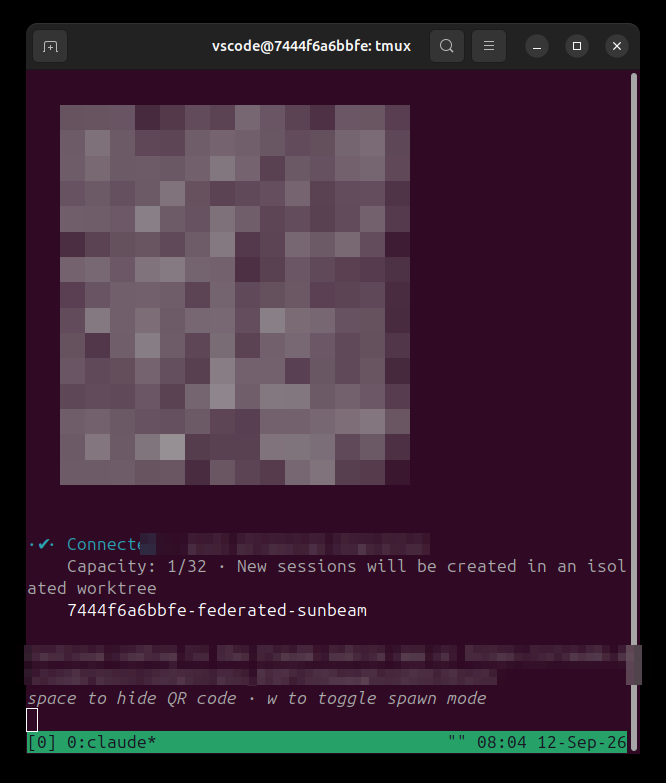
You can either scan the QR code or open the URL displayed in the terminal to continue coding from another device.
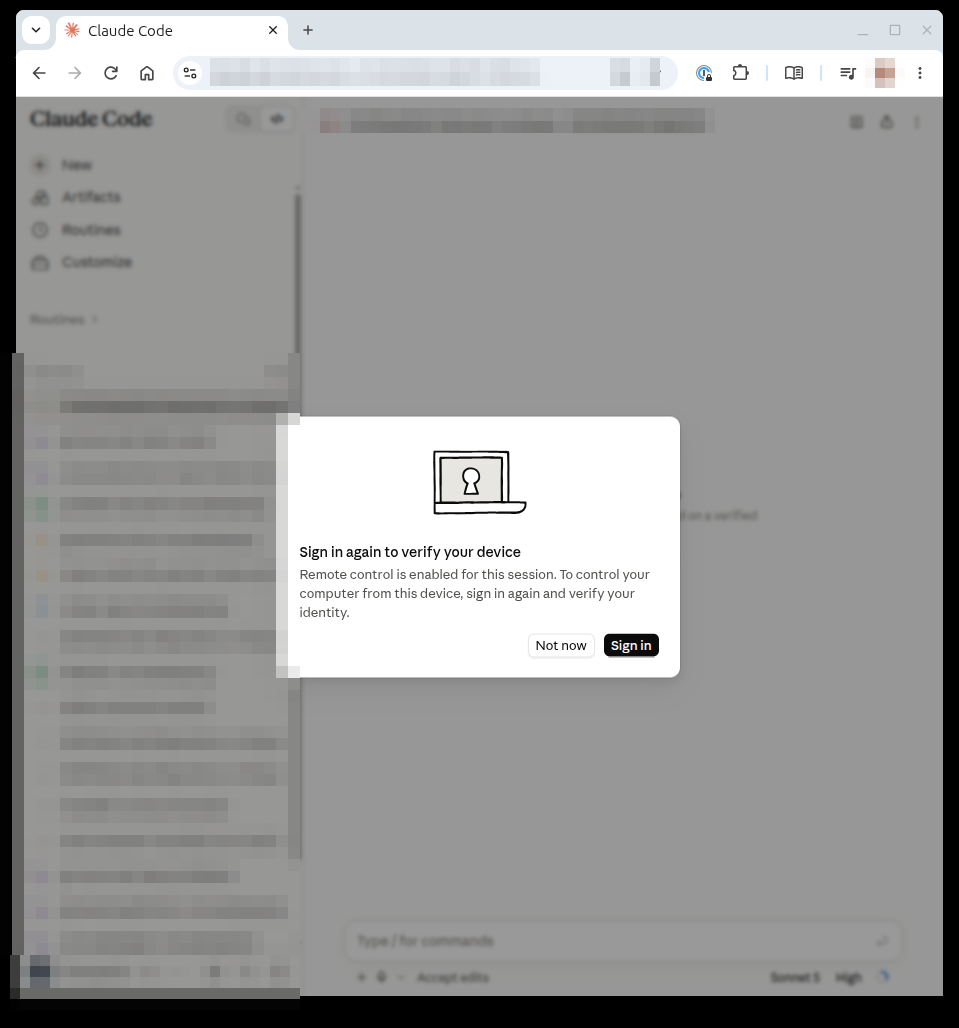
You may be asked to sign in again to verify your device:
The session will stay open until the claude remote command is terminated:
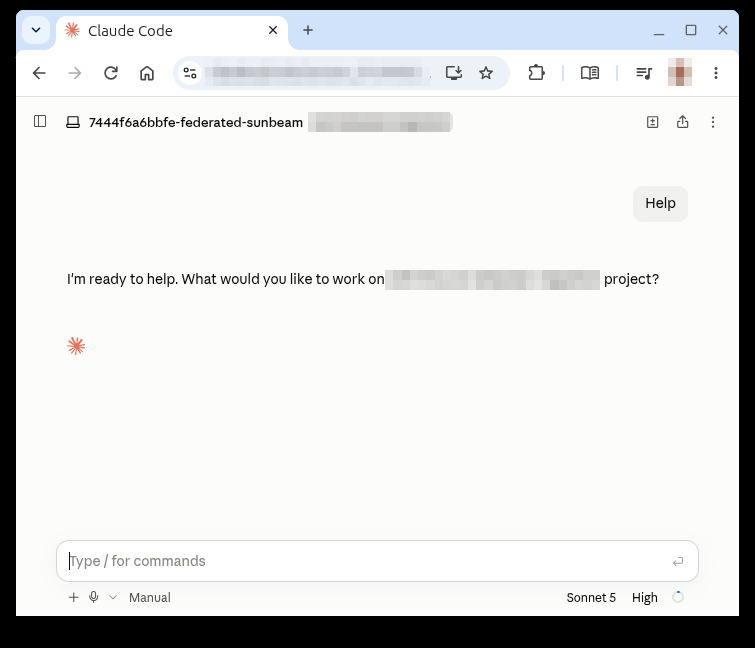
Note: because claude remote was launched from inside a tmux window, the
remote session stays open even if the SSH connection to REMOTE_HOST
terminates or the client reboots.
From here, you can pick the very same session back up from the Code tab in the Claude mobile app, from https://claude.ai/code in a browser, or from another terminal — the work in progress, and Claude’s context, are all still there.